Showing posts with label Sewing. Show all posts

Monday, November 30, 2020

Patchwork Drawstring Gift Bag


     After sewing numerous projects, one will inevitably end up with odd pieces of leftover fabric. I decided to turn some of these pieces into a patchwork drawstring bag. 

     I wanted the bag to be 8x8 inches with 2x2 inch squares, so my patchwork would have to be 16in long and 8in wide. To figure out how many squares I needed, I multiplied the desired length by the desired width to find the total area, and then divided the total area by the area of a single square:

(16*8) / (2*2) = 32 squares

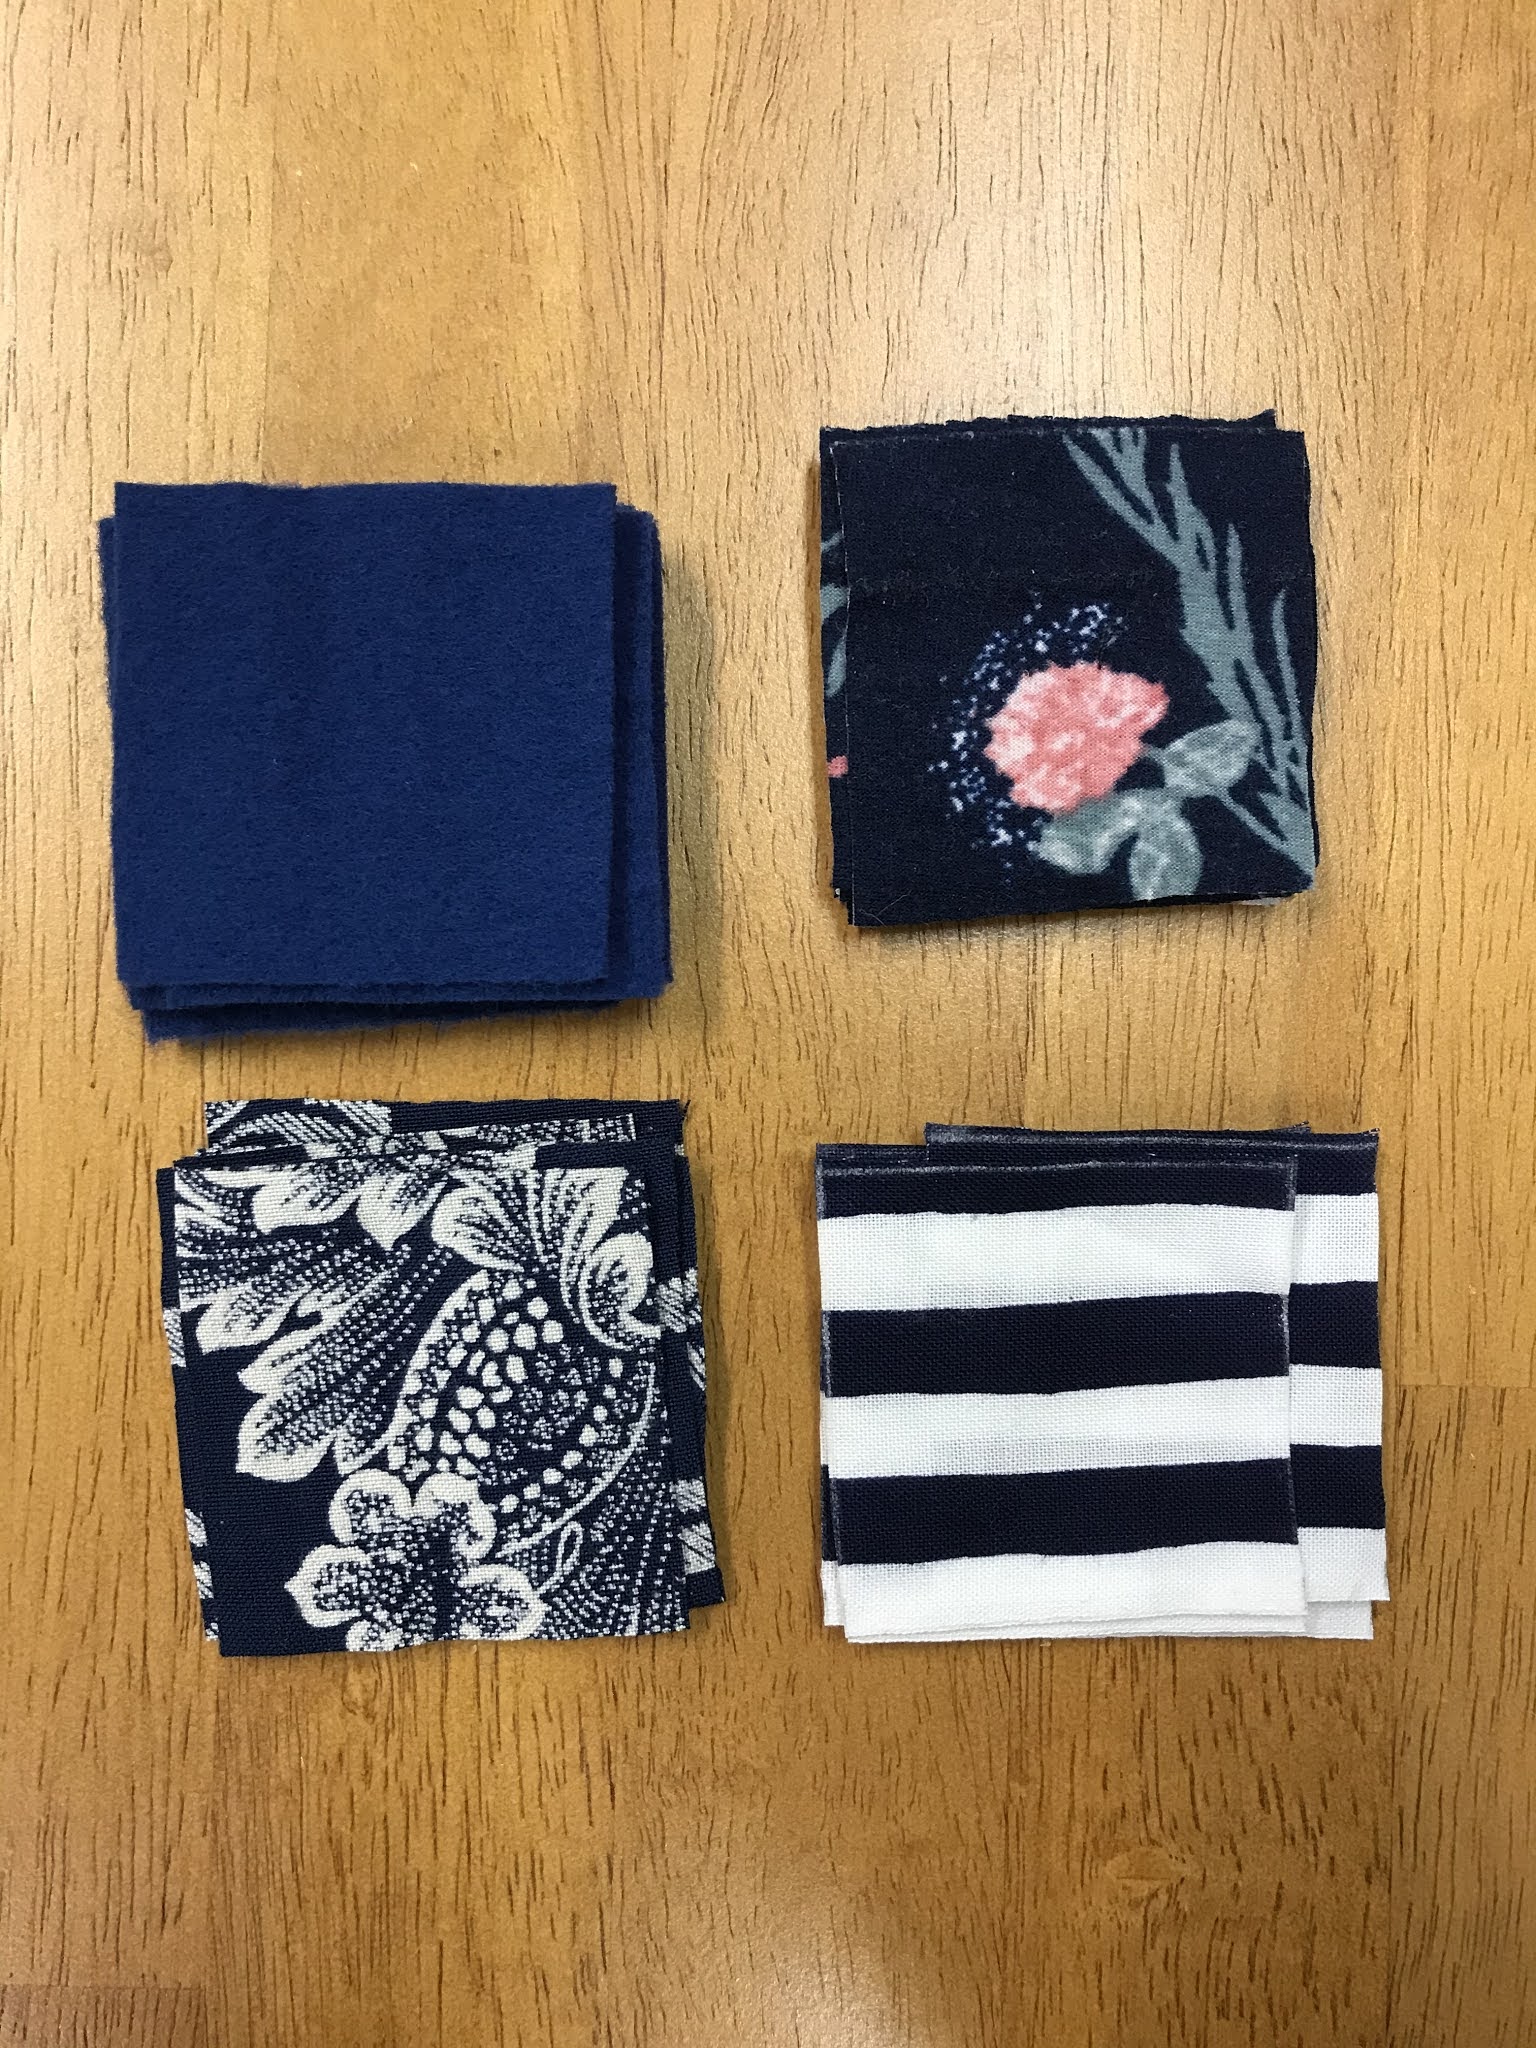
    After gathering four kinds of fabric with complimentary colors and patterns, I divided the total number of squares by the four kinds of fabric to determine how many squares of each kind of fabric I would need. 

32 / 4 = 8 squares from each fabric

     After cutting out the squares, I arranged them in the desired pattern, and sewed them all together.


     In hindsight, I probably should've picked fabrics with similar textures. Since they were all different, this resulted in some uneven edges. 

     Regardless, I plowed ahead and sewed up the two sides to form the outer shell of the bag. 


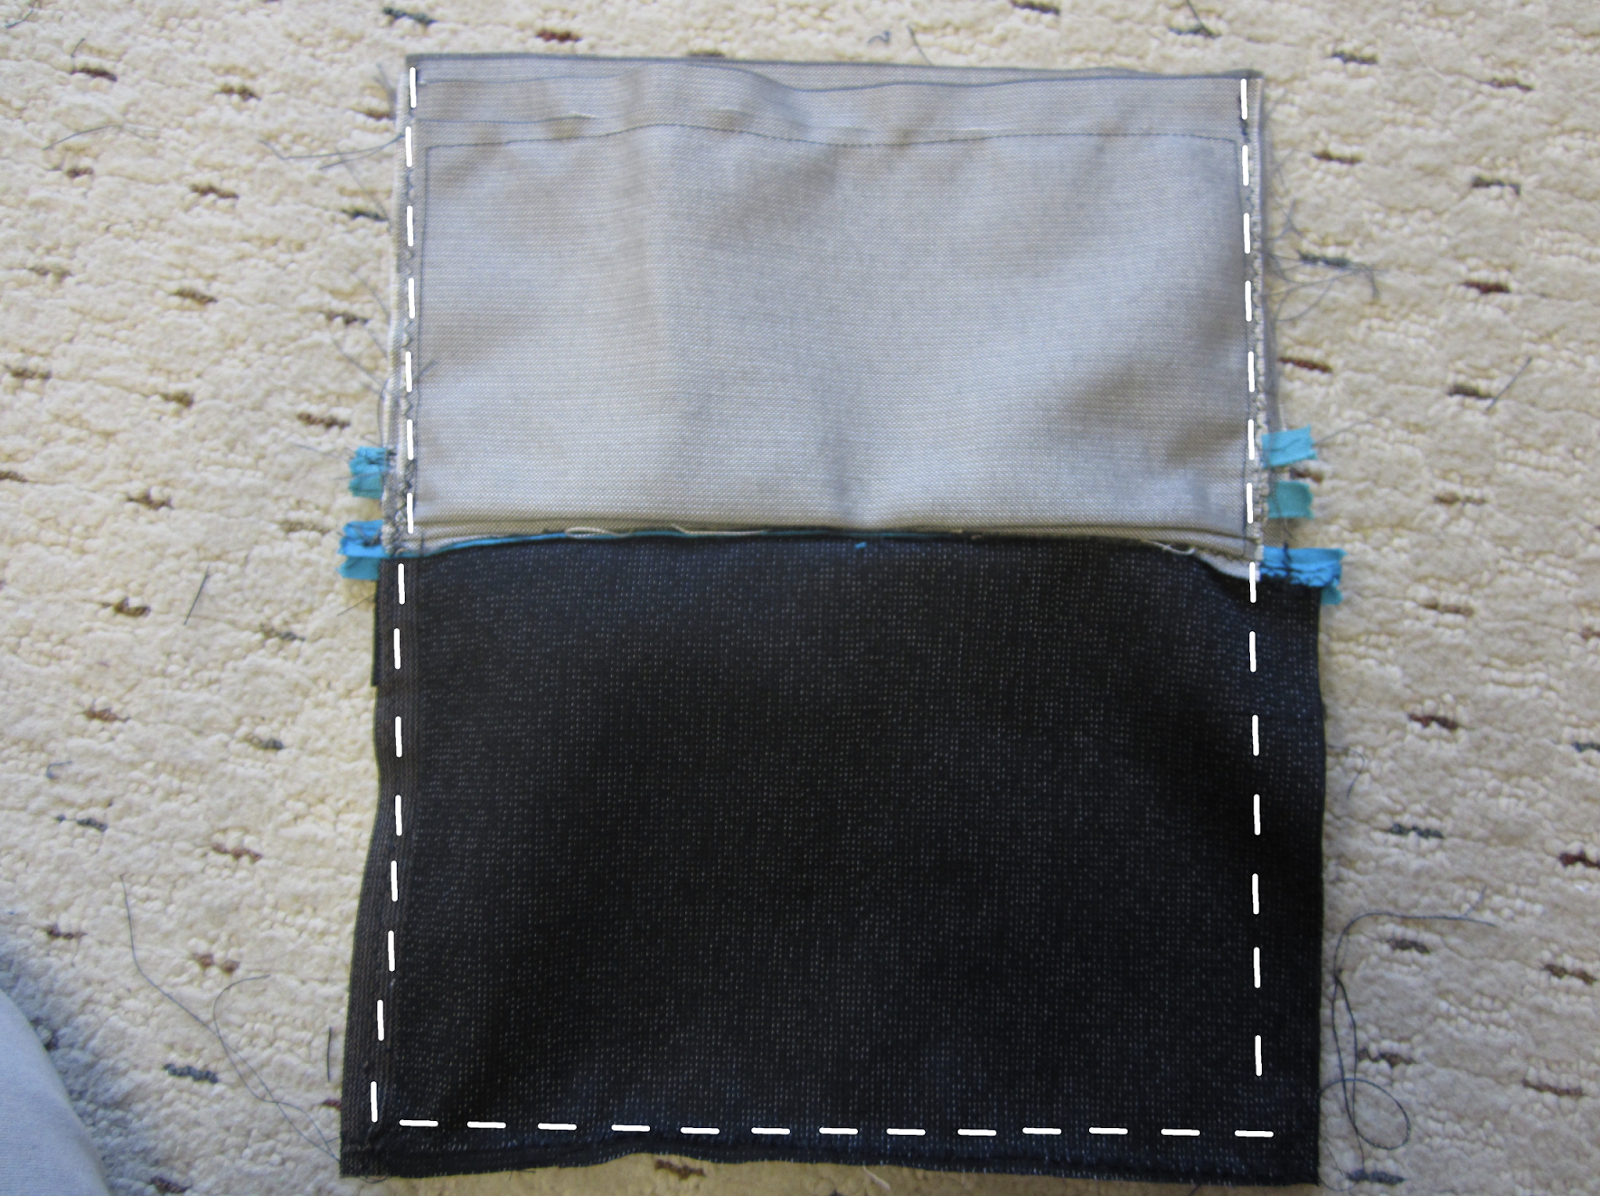
     For the lining and top part of the bag, I cut out a strip of blue cloth 21 inches long and 7 1/2 inches wide, folded it over with the bad side on the outside, and sewed down each side. I left a 1 inch hole at the bottom so the bag could be flipped inside out later.


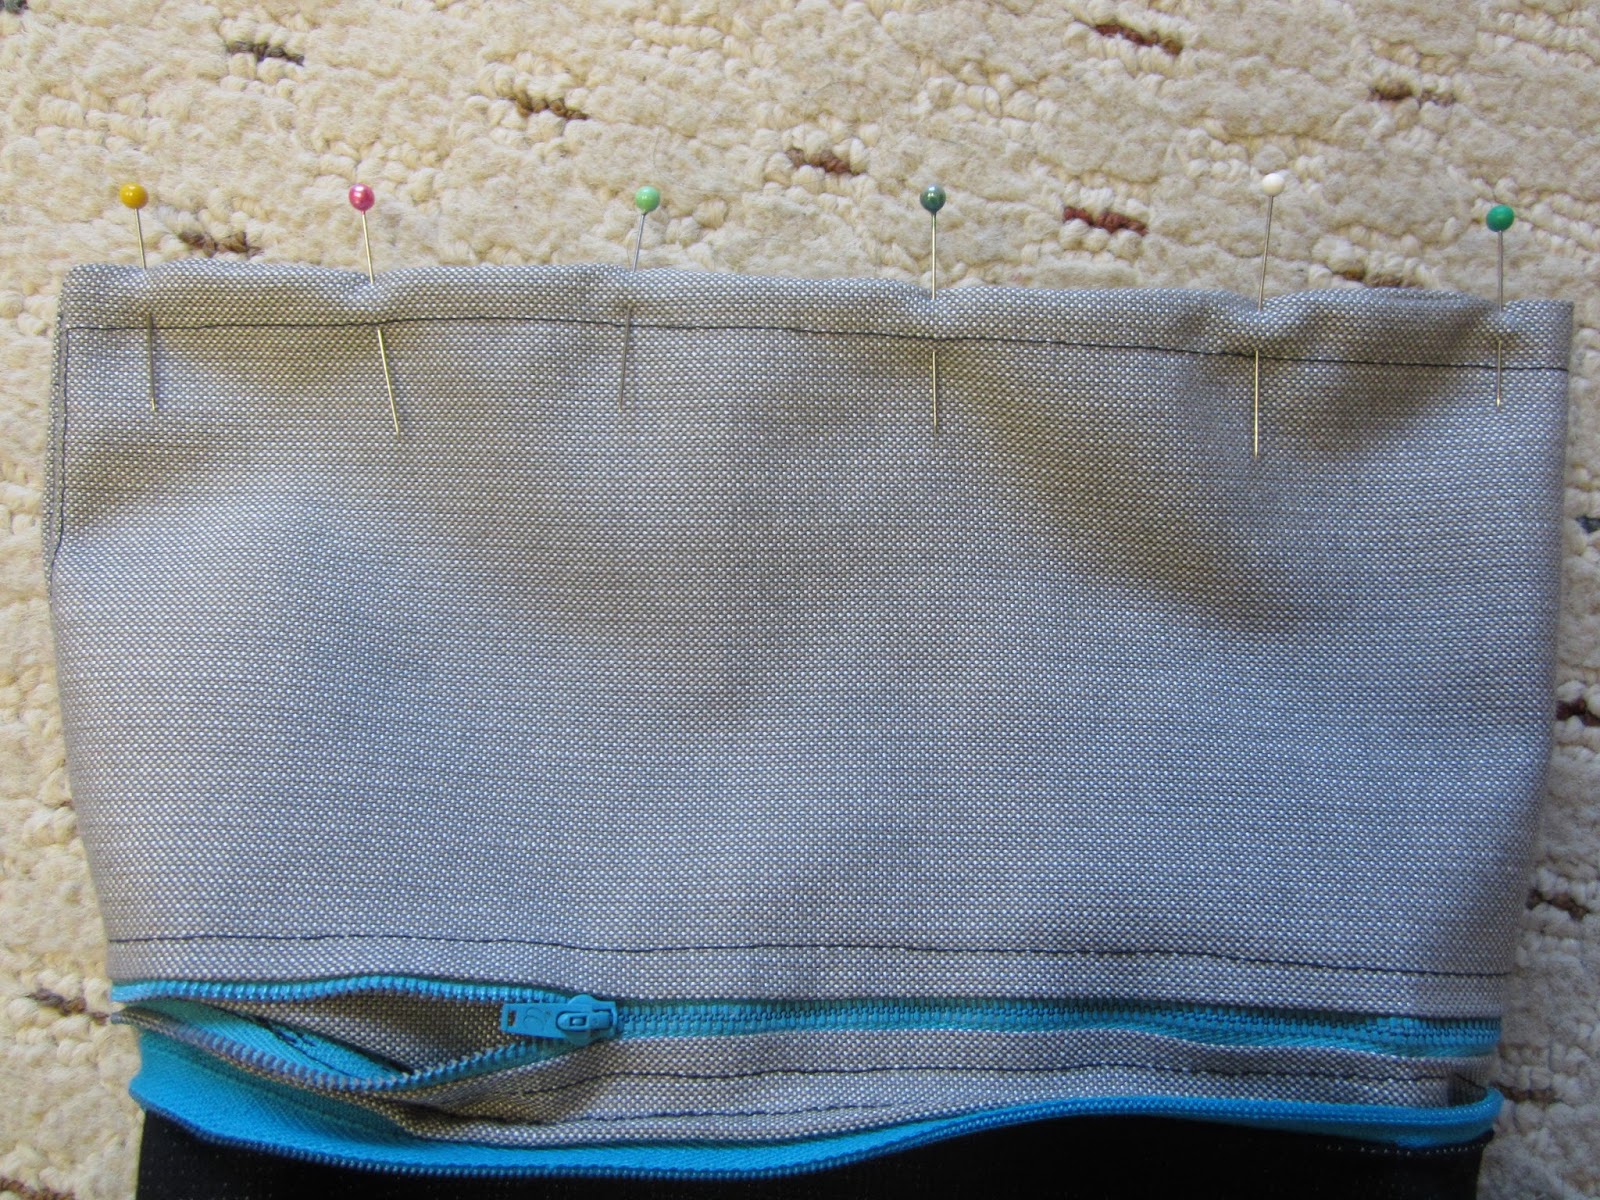
     Next, I turned the patchwork shell inside in and put it inside the lining, so that the good sides of the shell and lining were together. Then I sewed around the top.


     Reaching in through the hole at the bottom of the lining, I pulled the shell and the rest of the lining through, turning it inside in. Afterwards, I sewed the hole closed.


     Then I stuffed the lining inside the shell and pinned the bottom part so it wouldn't shift around.


     After marking a line 3/4 from the top, I sewed around the top part to create the passage for the drawstring to go through.


     I sewed a small line over the side seams so that I could unpick the small section of side seam, and allow the drawstrings to go through.


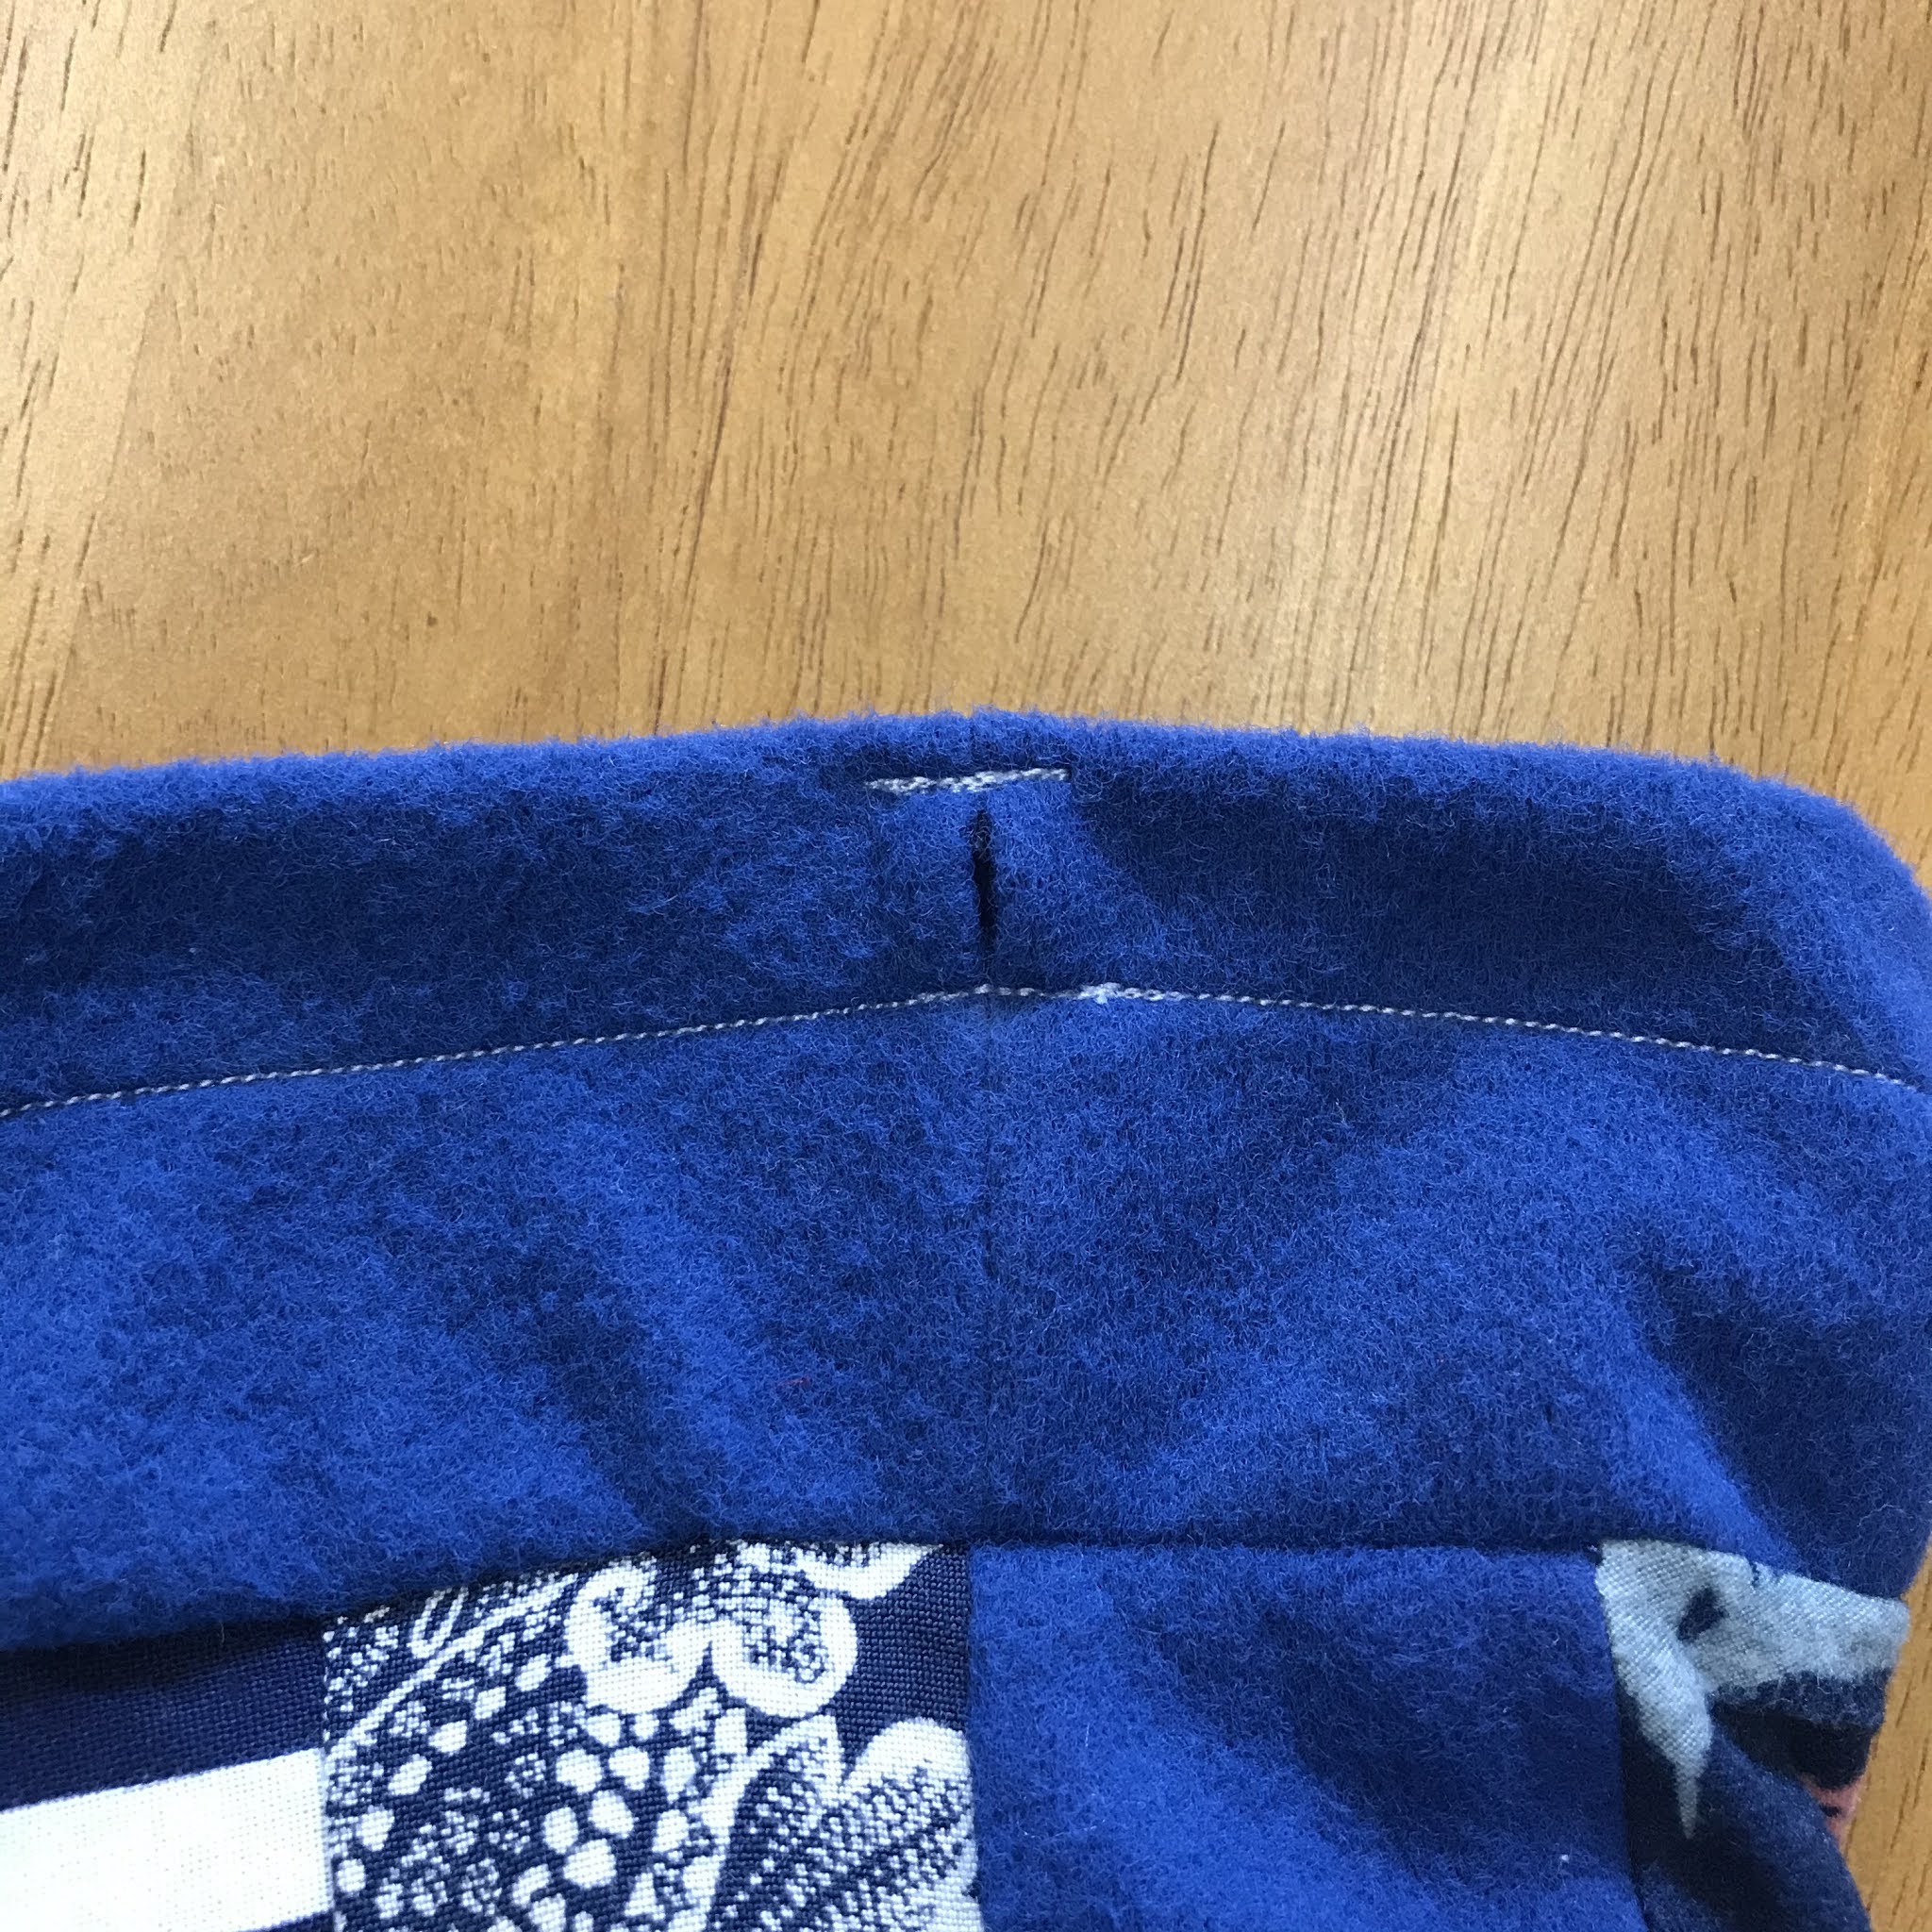
     If I had wanted to get fancy, I probably could have handstitched a nice seam around the hole. But I decided against the extra work since the fabric wasn't the type to easily unravel. 

     Finally, I inserted two cords and tied them off.


     As you can see, the bag is not 8x8, as I had intended. The dimensions of the finished bag are 6in wide and 8in long. Regardless, I'm still quite happy with how it turned out. 


Tuesday, October 24, 2017

DIY Little Black Clutch, pt 2


   Last week, we made the inner pocket of our clutch. If you missed that post, click here. Now, we're going to make the shell of our clutch. 

   Take one piece of black cloth (the 6 1/2" by 10 1/2" piece) and lay it down, good-side up

   Take your second zipper and lay it good-side down on top of the black cloth, lining it up with the top edge of the fabric. 

   Take your second piece of gray lining and lay it on top of the zipper, once again lining it up with the top edge of the fabric. 

   Pin everything in place and sew along the top edge.


   Flip the fabric over so that it hangs at the bottom and the zipper shows on top. 


   Take the inner zippered pocket that we finished last week and lay it down, good-side up

   Take the second zipper with the two pieces hanging off it that we just sewed, and lay it on top of the zippered pocket, good-side up

   Take the second piece of black fabric (the 6 1/2" by 10 1/2" piece) and lay it on top of the piece below, good-side down.

   Make sure all the edges are lined up, pin in place, and sew. 


   Unfold the fabric so each piece lays nicely on either side of the zipper. Then sew a straight line on either side of the zipper.


   Your clutch should look like this from the side:


   We're almost done! Now we have to make the wrist loop and sew together the sides. 

   Take your 1 1/2" by 10" long piece of black fabric, fold it in half, zig-zag sew along the edge, and turn inside-out. 


   Lay open your clutch so that the two pieces of gray lining are at the top and the two piece of the black shell are on the bottom. 

   Fold your wrist loop in half and sandwich it between the two pieces of the black shell, near the top. 


   Sew around all the edges, except for the top of the gray lining. Leave that open. 


Unfortunately, when I first measured the material, I made my lining a little smaller than the shell. 
I ended up trimming the edge of the black shell so that the widths would be even. 


   Turn your clutch inside-out.


   Tuck the edge of the lining back into itself, pin in place, and sew.


   Push the lining into the shell of your clutch.


   Woohoo! Your clutch is complete! 


~ Gloria