Showing posts with label Upcycles & Refashions. Show all posts

Monday, August 19, 2019

Turning Two Shirts into a Jacket


   I've had this plaid button down shirt for some time, and though I loved the color and pattern, it was too bulky and didn't fit correctly.


   After scrolling through Pinterest and searching my drawers, I found a polo shirt of the same shade of blue, and decided to turn the two shirts into something like a bomber jacket.


   First, I removed the collar, buttons, and cuffs, and detached the sleeves from the plaid shirt.
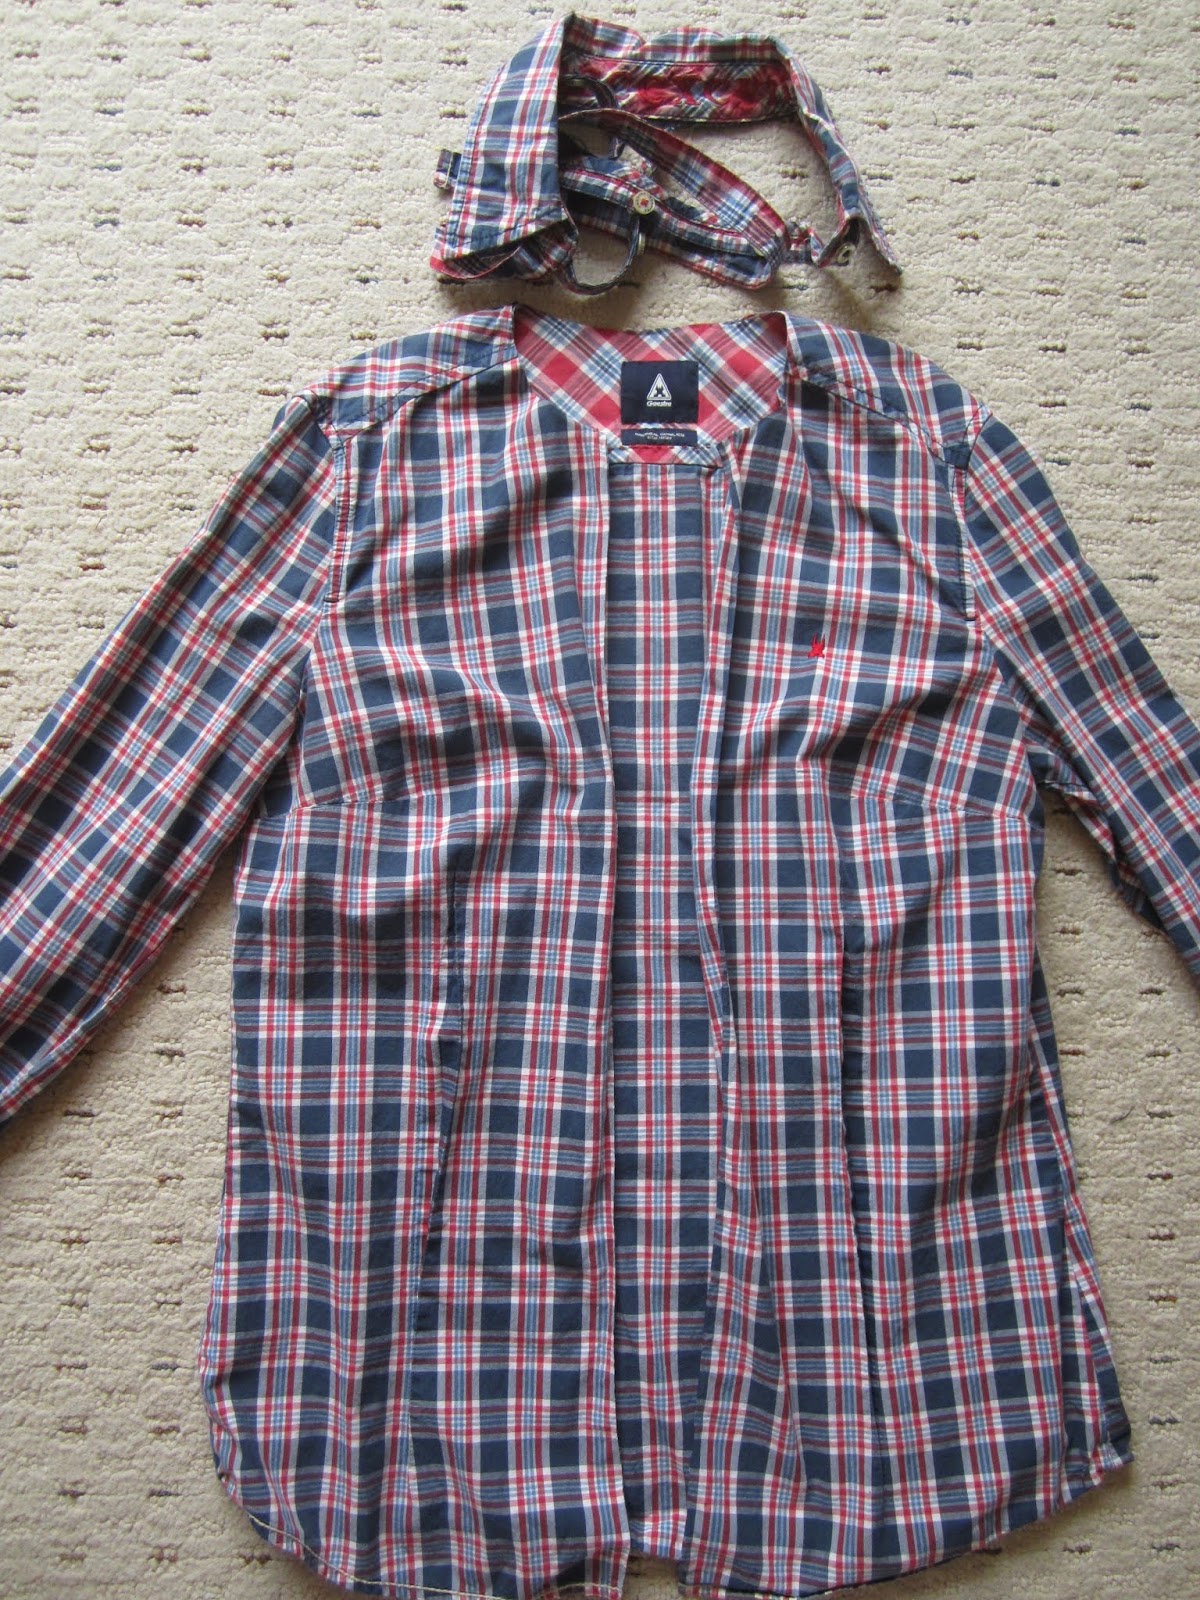


   I wanted to have blue stripes running down the sleeves and also across the upper back of the jacket. This would also make the sleeves bigger and more jacket-like. So I cut out four, four inch wide strips from the blue shirt and inserted them into the sleeves of the plaid shirt.


   Next, I cut out three more pieces from the blue shirt (also four inches in width) and inserted it into the upper body of the plaid shirt.


   Then came the hardest part: lining up the blue stripes and reattaching the sleeves.


   They lined up nearly perfectly.

   Time for the cuffs! I cut out two square pieces from the blue shirt, making sure I could easily slide my hand in and out, folded the pieces over, and sewed down the vertical side, forming a tube. 


   Then I folded over the tops of the cuffs so that the seams were hidden inside the tube, pinned them to the sleeves, and sewed them down, stretching the cuffs to match the width of the sleeves. 


   After trying on the jacket, I marked where I wanted the waistband and trimmed the bottom of the shirt. 


    I cut three more pieces from the blue shirt, sewed them together, folded it in half, pinned the raw edge to the bottom of the jacket (making sure to line up the seams), and sewed it down. 


   Next, the jacket needed a zipper. I hand stitched the zipper to the jacket first before sewing it down with the machine. 
 

   The waistband seam almost matched up. 
 

   Finally, the collar. I cut off the collar from the blue shirt, trimmed it a bit, and then sewed it onto the jacket.


    Voila! The jacket is finished.


Saturday, April 21, 2018

Velvety Blue Dress Upcycle


   I absolutely adore the color of this dress! Plus, the thick velvety material makes it the perfect winter dress. There was only one slight problem. It had a gathered waistline, which made the dress look more childish than elegant. 


   The first order of business was to unstitch the waist - no small task to be sure! 


So much fabric!!


   Next, I turned the top part inside out and tailored it just a tad so it fit better.


   For the skirt part, I decided I wanted it to have an A-line shape.


   Then, I reattached the skirt to the top. 


   Lastly, I unpicked the existing hem, recut, and hemmed it to fit the new shape of the dress. 


The dress is complete! 


Saturday, September 9, 2017

Long-Sleeved Blouse to Cute Peplum Top


     There were two reasons I wanted to rescue this shirt. First, it was my mother's when she and my father took their engagement photo 21 years ago.


   Second, I really like the peplum-style frill at the bottom of the shirt. 


Oh, did I mention it's 100% silk?


     Now, for the upcycle. First I turned the shirt inside-out and unpicked the sleeves, being very careful not to rip the material. 

Tuesday, March 28, 2017

Tailor a Shirt in 15 Minutes


     Surprisingly, this was one of the easiest sewing projects I've ever attempted!


Supplies:
- Sewing machine
- Black thread
- Scissors
- Sewing chalk 


     First, figure out how much you need to take in. I ended up taking in half an inch from both sides. Turn you shirt inside out and mark along the edges how much needs to be taken in.


Friday, January 20, 2017

How to Remove a Turtleneck

     I've never liked turtlenecks. They're like built-in-nooses designed to choke the very breath out of you. Imagine my joy when I discovered there's a way to remove them without ruining the sweater! 


Supplies:
- Turtleneck sweater 
- Thread-picker
- Pins
- Sewing machine
- Sewing chalk (optional)