
Supplies:
- Thick, sturdy, piece of white paper
- Blue construction paper
- Green construction paper
- Ruler
- Pencil
- Glue (doesn't really matter what kind, I use Elmer's)
- Scissors


Grab your blue construction paper and cut out about a dozen 1/4 inch wide strips of paper.

Time to start quilling. If you have a quilling tool, this will be much easier. But since I don't have one, I had to do it the hard way. First take a strip of paper, and curl the edge a bit.

Then, start rolling it tightly between your first finger and thumb. I also use my second hand to help.

 |
| Keep rolling. |
Once you've reached the end, put a dab of glue on there but DO NOT seal it yet.

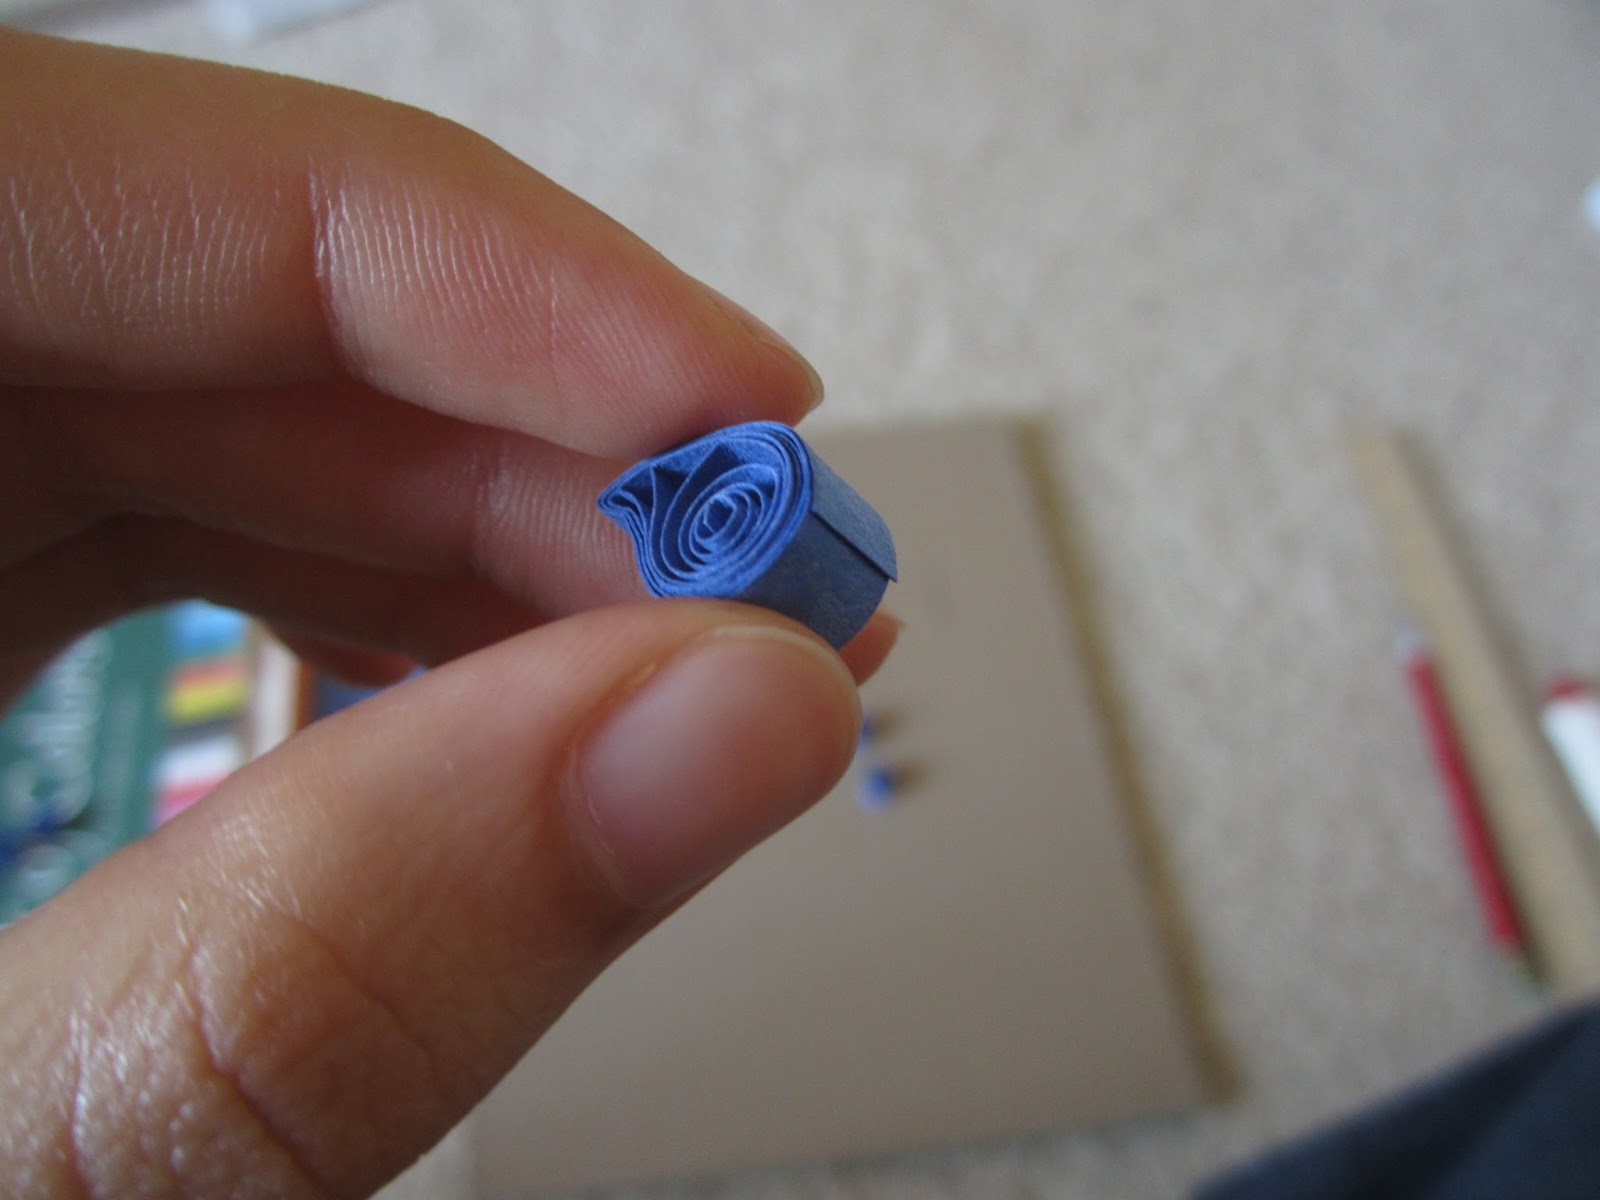
Open your fingers a bit and allow the paper to unroll, not completely, just till it's a little more than half an inch in diameter. Don't worry about being precise, I eyeball it.

Now you can seal it by pressing the tail end with the glue against the rest of the roll. Continue the above process with the remaining strips of paper.
 |
| Pretty spirals! |
Here comes my favorite part. After the glue has dried, take one of the rolls and pinch the top with your fingers.

Curve the top part to make somewhat of a hook shape (I normally use two hands but I was trying to take a picture with my free hand.)

Perfect! One petal is complete.

Tip! Make sure the part where you sealed off the roll is on the opposite end of the part you'll be molding.
Continue on for the rest of the rolls.
 |
| Lovely little petals. |
Time to make the stem. Cut out a strip of green construction paper 1/4 of an inch wide, fold in half, and glue.


Once the glue has dried, trim as necessary.

Now that we have all our pieces, we can start making the actual card. Arrange them on the card the way you want first, adjusting where needed.

Glue all the pieces in place.


At the last minute, I decided to add two more flowers.

A quick cursive "Happy Birthday!" and the card is complete.
 |
| Voila! |
~Gloria
This is adorable, Gloria!
ReplyDeleteAw, thanks!
Delete